DIY Reusable Mesh Produce Bags

I don’t know about you, but when I go to the grocery store I HATE using those horrible single-use plastic bags for my produce. It makes me sick to my stomach. I stopped using them and just started placing the vegetables and fruits loose in my basket but it was a bit annoying to have a lot of loose items rolling around in there. This is my solution to stop using the single-use plastic produce bags and keep all of my items together and organized (without breaking the bank!).
Anyone can do this project, whether you’re a beginner on the sewing machine or a master seamstress. Each bag only took about 10 minutes and the entire project, including setting everything up and cleaning up, took just over an hour. This is by no means an all-day sort of project! Make a few bags when you can squeeze the time in, and mother nature will be thanking you every time you use one.

I bought this mesh fabric for $5 at Fabricland. It came in a package (not on a roll) and measured 137cm x 46cm. It is extremely light weight so it will not end up costing you at the grocery store! I also bought 2 packs of black shoelaces (the cylindrical kind, not the flat kind) to use as drawstrings. Each pack of 2 cost me $1.


All I had to do was cut on the fold creases that already existed from the way the mesh was packaged. In the end I cut 4 pieces of mesh that measured 68.5cm x 23cm. One more fold and then you’re ready to sew! This last fold will place the bottom of the bag on the fold crease and the sides of the bag will be sewed together.


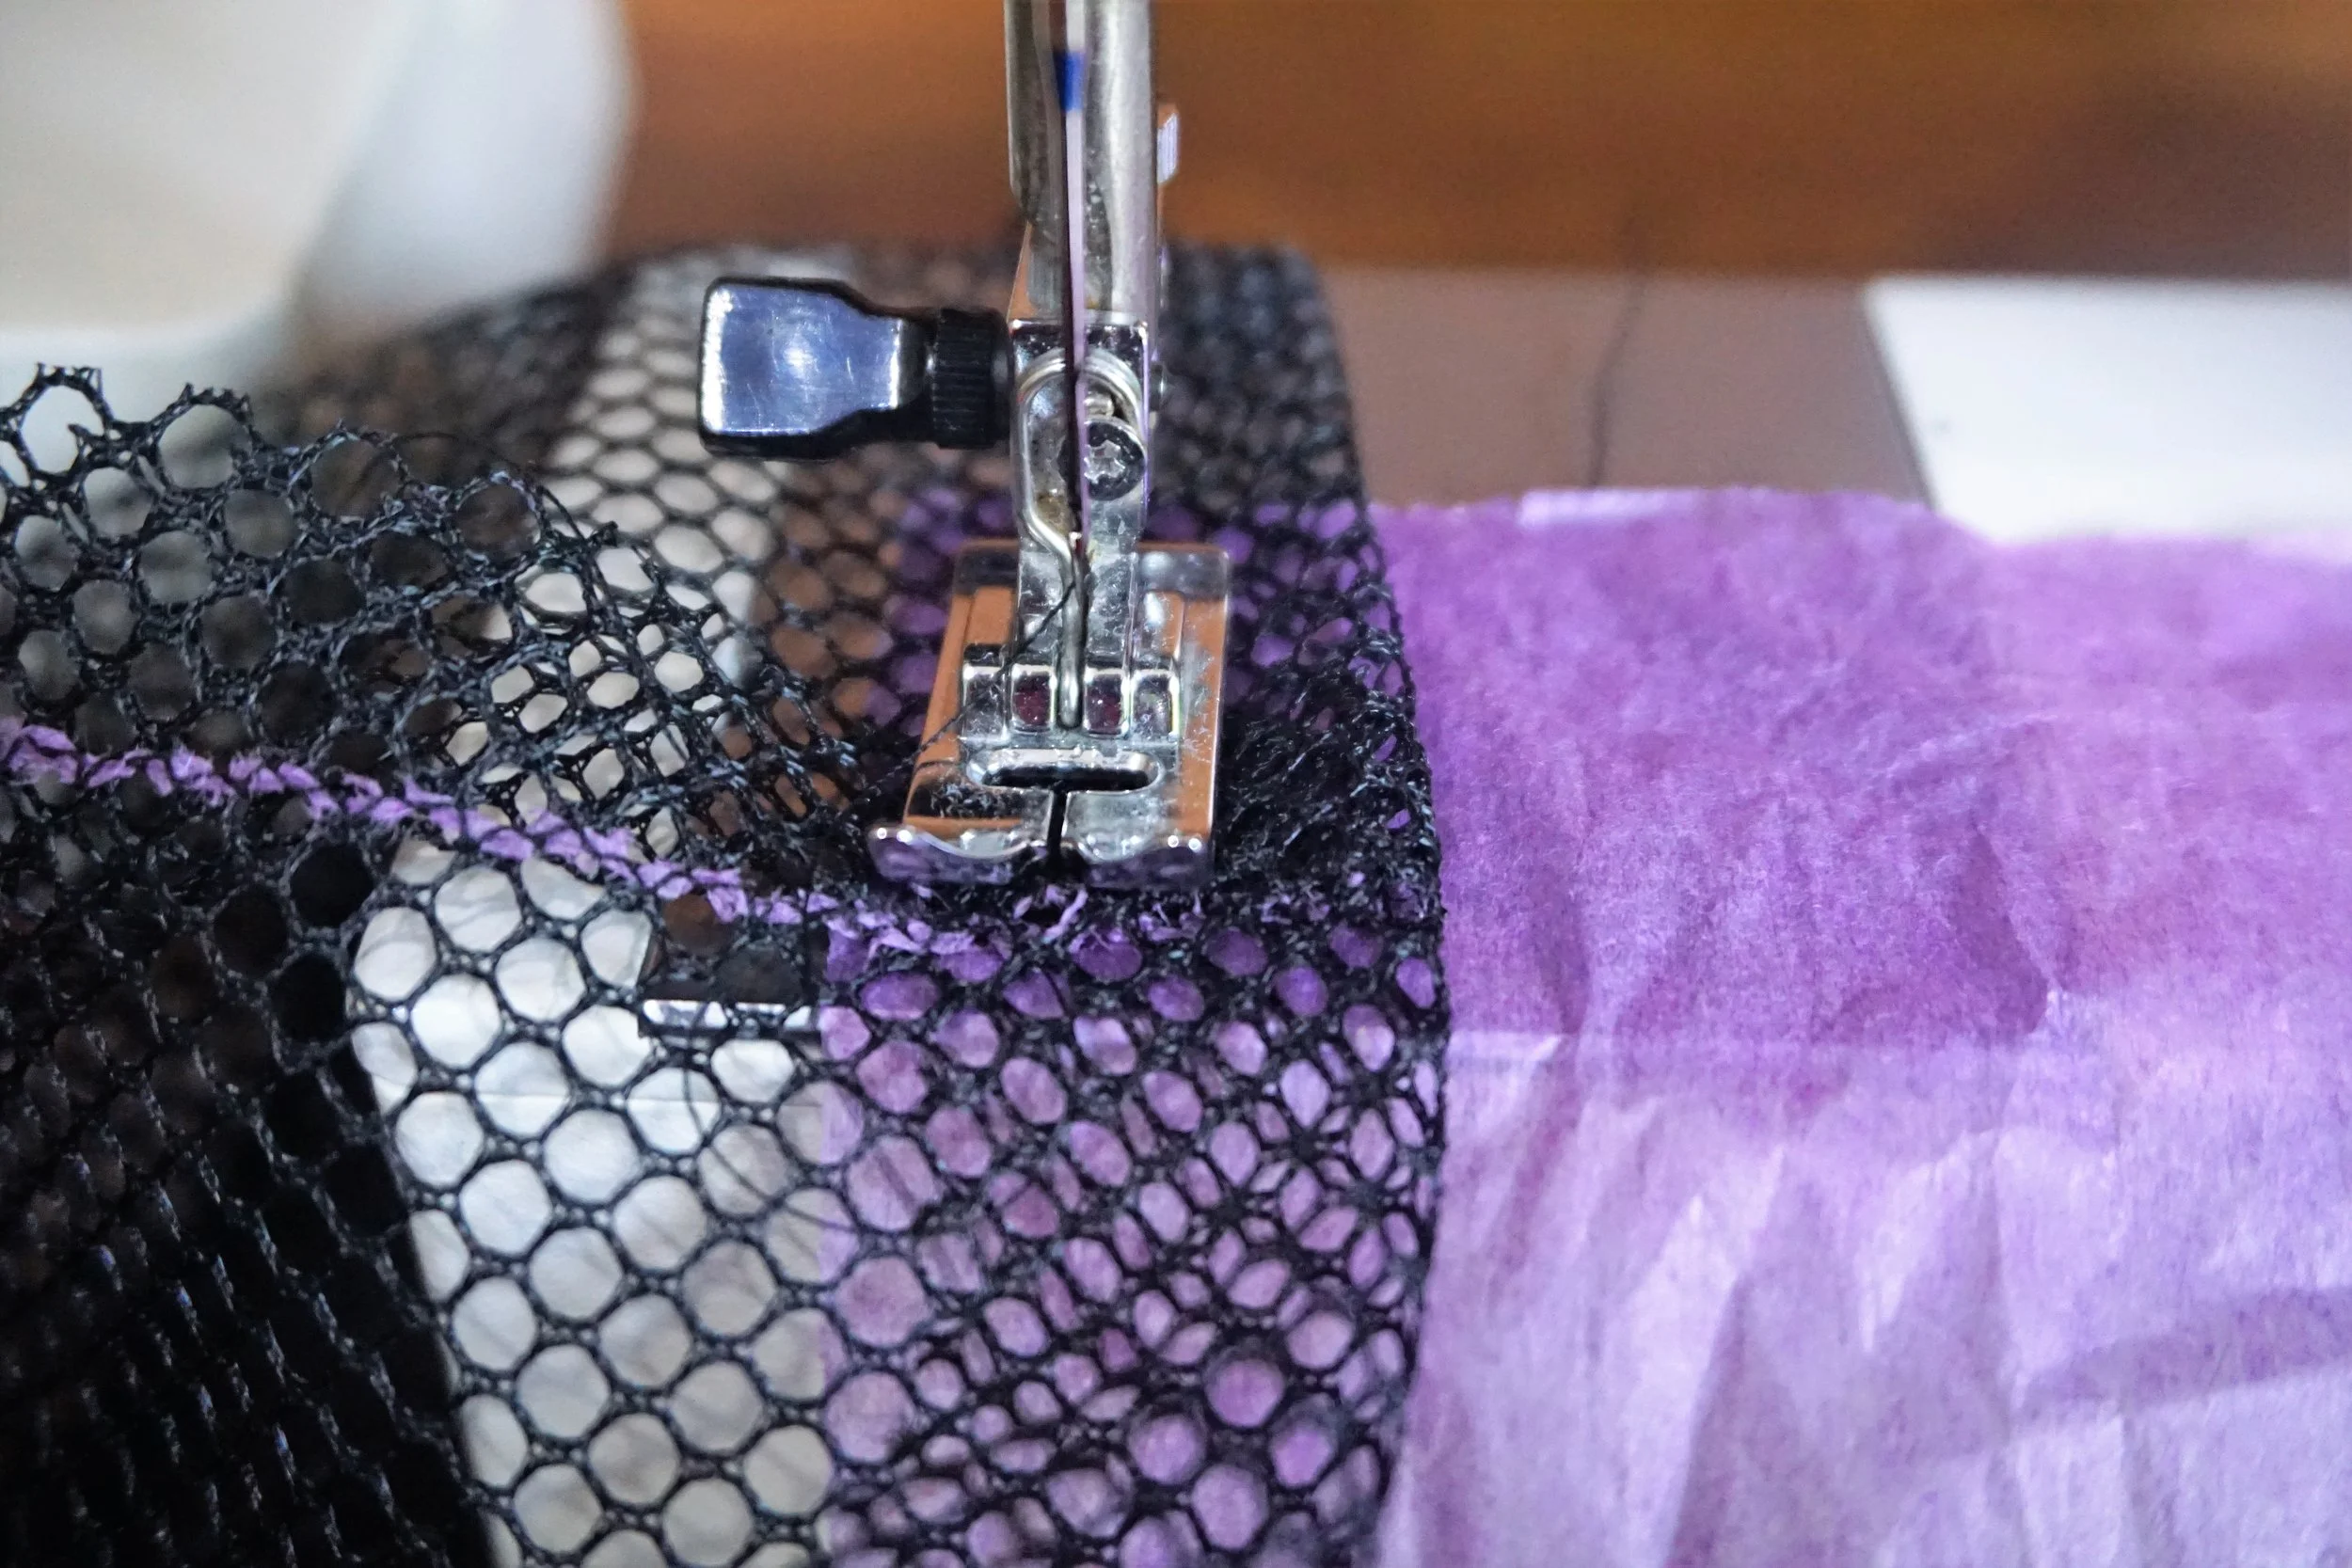
Because of the nature of this fabric, I sewed with a piece of tissue paper underneath to ensure the feed dogs weren’t grabbing at nothing. The tissue rips off incredibly easy once you’re done. I used a narrow zigzag stitch and all you need to do is sew straight down the edges of the bag to close each side.


Once the sides have been sewed together, you need to sew the top where the drawstring is going to go. While the bag is inside out, fold the top down about 2 cm, folding the seams flat like I do in the photos above. Using the same zigzag stitch that you used to sew the sides together, sew the top. Leave a 2 cm gap from where you started sewing to where you finish, because you need a place for the drawstring to enter and come out of. If you forget to leave a gap it is not the end of the world, you can easily snip 1 or 2 mesh pieces for a hole big enough to stick the drawstring through.


I used cylindrical shoelaces that were 100cm long. I tried to use flat shoelaces first but they didn’t slide very well in the mesh. Attach a safety pin to the end of the shoelace and insert it into the opening where the drawstring goes. Pull it all the way through.

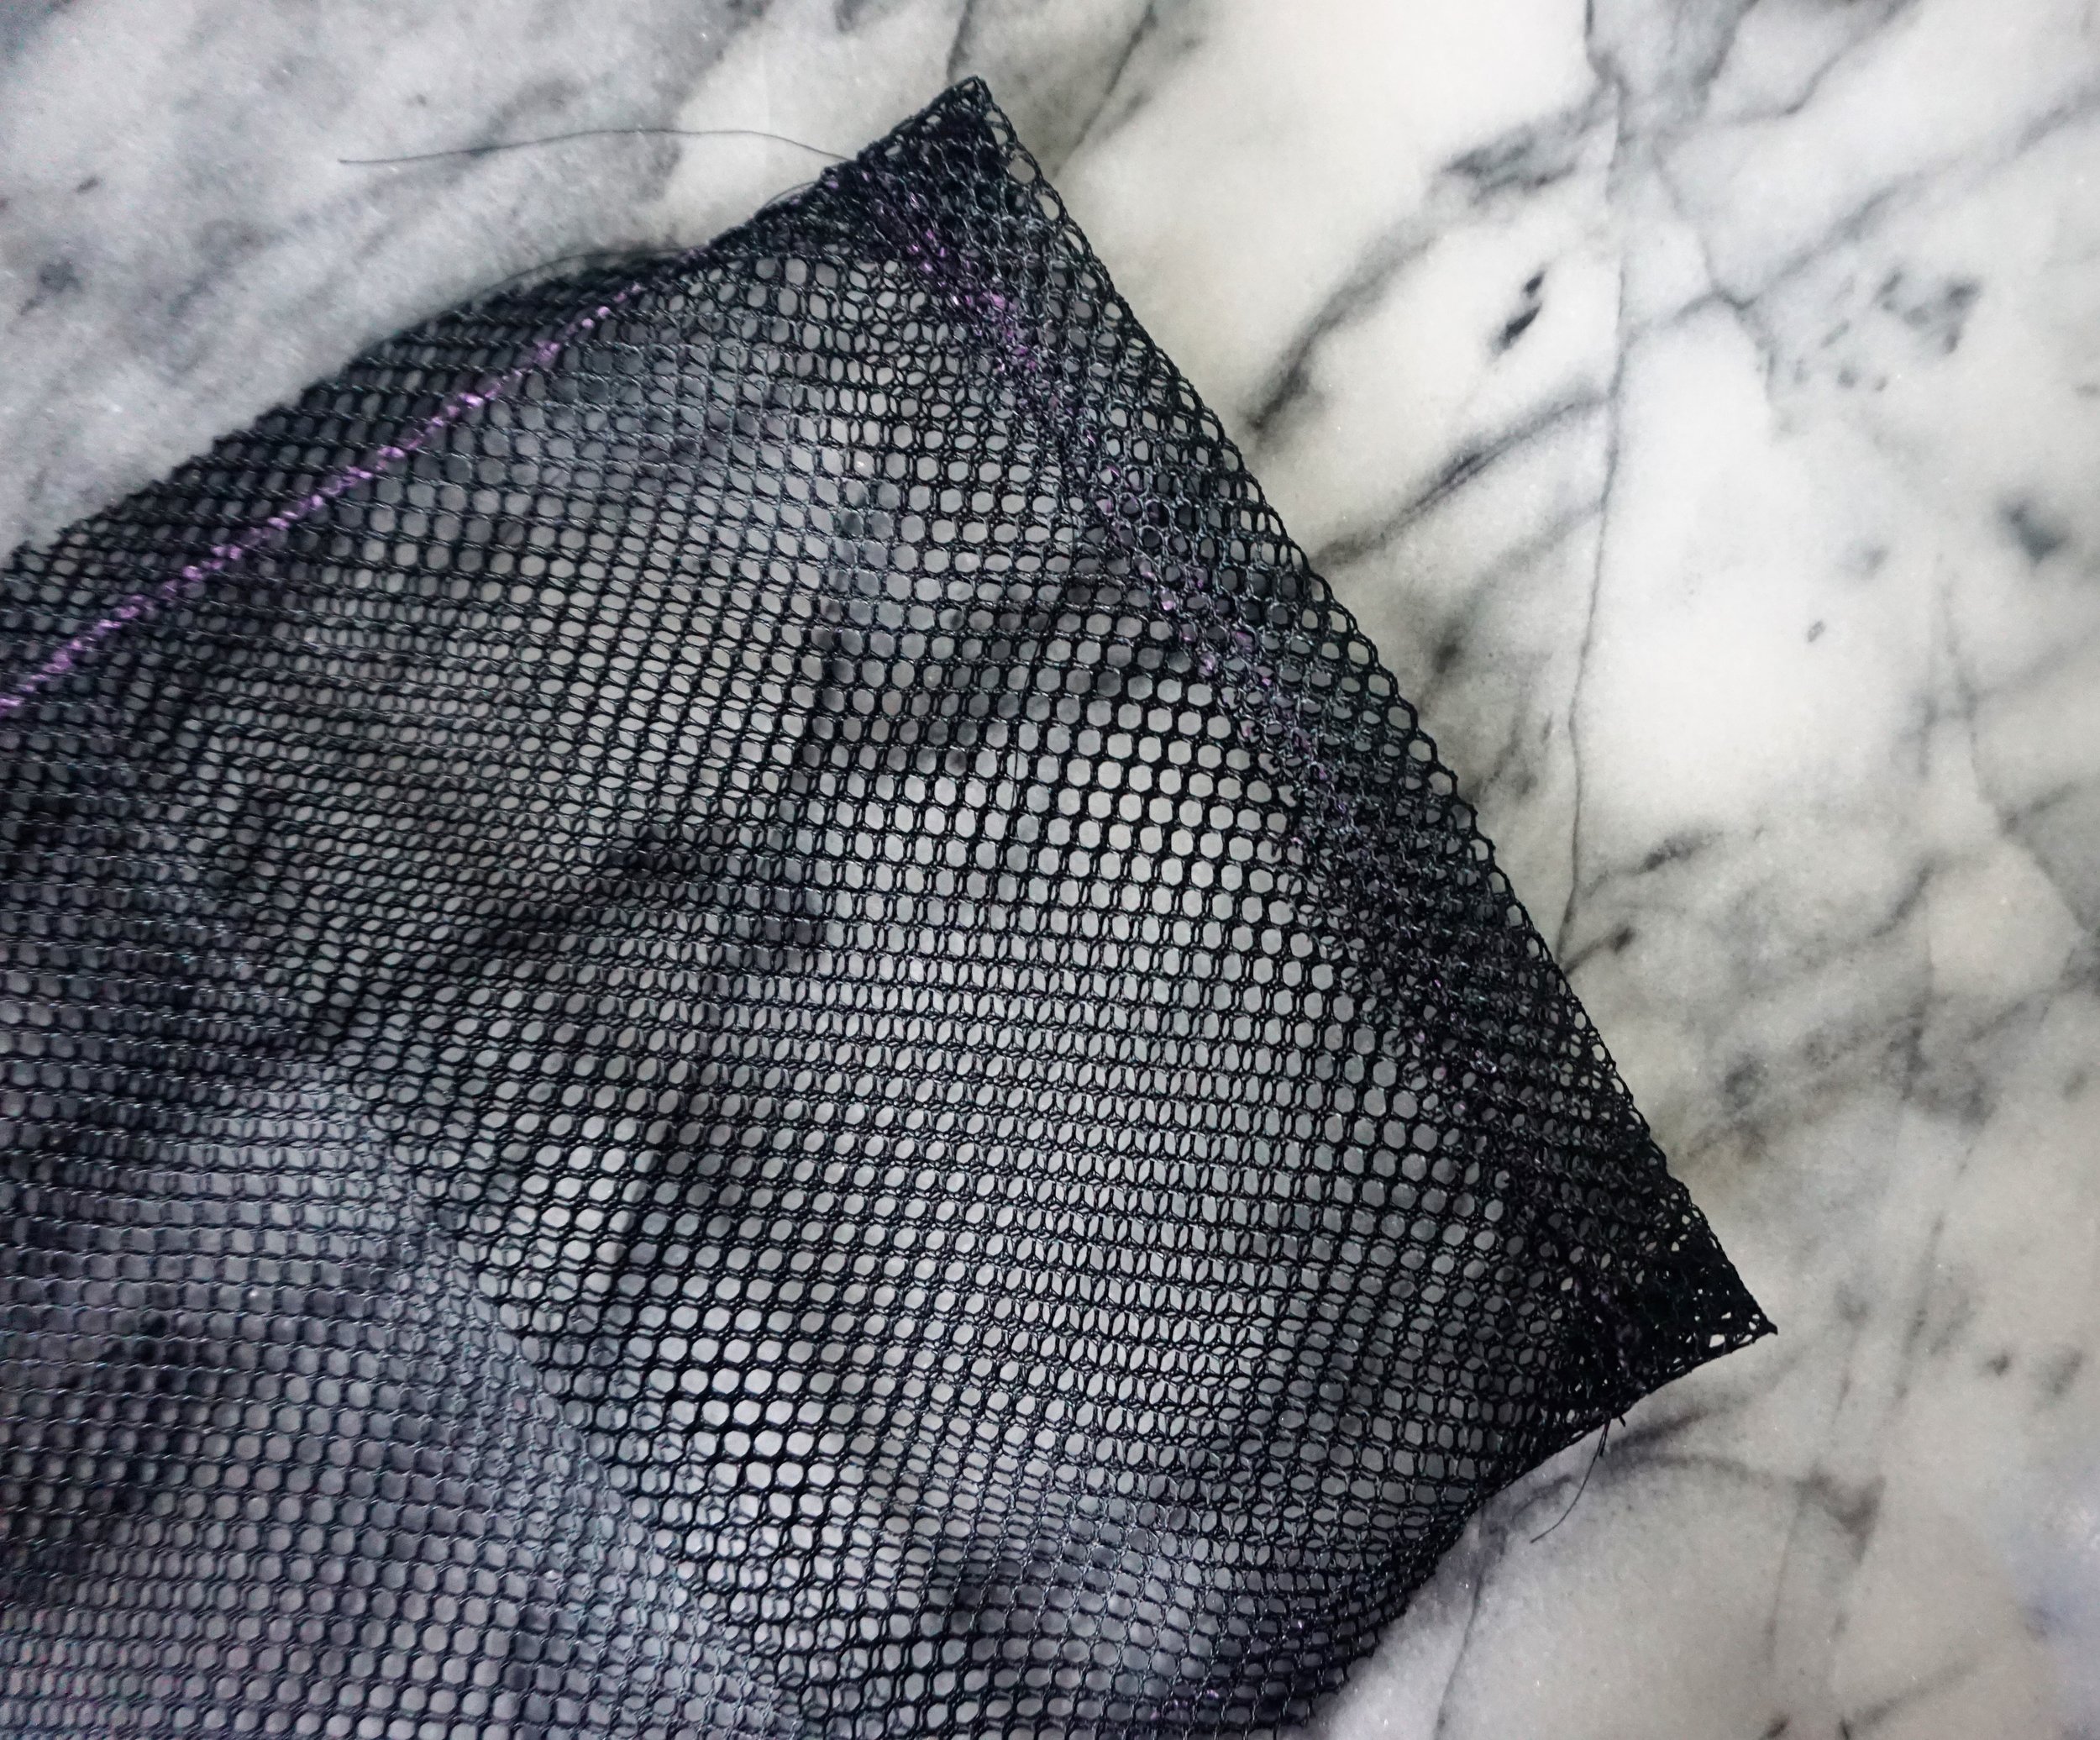
That’s it! Your reusable mesh produce bag is complete and you’re on your way to living a more sustainable lifestyle. You can choose to either make these bags exactly the same as I made them, or you can choose to make them bigger or smaller. I would use this blog post more like a guide than an exact pattern. Go ahead and experiment!


*makes 4 produce bags (31.5cm x 20cm)
4x 100cm long shoe laces (cylindrical, not flat)
1x mesh fabric (137cm x 46cm)
sewing machine
thread to match your bag
fabric scissors
tissue paper
safety pin
*At any point during this tutorial if you are confused about any of the steps be sure to check out the pictures in the above portion of the post.*
Begin by cutting the mesh fabric into 4 pieces measuring 68.5cm x 23cm.
Fold the fabric in half lengthwise (hamburger style!). The fold crease will be the bottom of the bag.
Next we will sew the sides together. Set your stitch to a narrow, short zigzag and place a piece of tissue paper underneath the mesh to ensure the feed dogs aren’t grabbing at nothing. Sew straight down the side leaving a 1 cm seam allowance. Backstitch once at both ends. Rip the tissue paper off if it has not already fallen off.
Now we are going to sew the channel where the drawstring will live at the top of the bag. Fold a 2 cm portion along the top of the bag and line with tissue paper again. Sew this leaving a 1.5 cm channel, with a 0.5 cm seam allowance. Use the same short, narrow zigzag stitch as before. Fold the side seams to one side when sewing over them. Leave a 2 cm gap from where you started sewing to where you finish, because you need a place for the drawstring to enter and come out of. If you forget to leave a gap it is not the end of the world, you can easily snip 1 or 2 mesh pieces for a hole big enough to stick the drawstring through. Rip the tissue paper off and turn the bag right side out.
Attach the safety pin to the end of a shoelace and feed the safety pin through the channel.
Your bag is complete! If you are confused about any of the steps be sure to check out the pictures in the above portion of the post.


